
5 Essential Tips to Start DIY Projects with Confidence
Starting a DIY project can be both exciting and a bit daunting, especially if you’re unsure where to begin. To help you navigate the world of crafting and home improvement without feeling swamped, here are five essential tips that will make your DIY journey smoother and more enjoyable. Get ready to unleash your creativity and tackle those projects like a pro!
Begin with a Simple Project
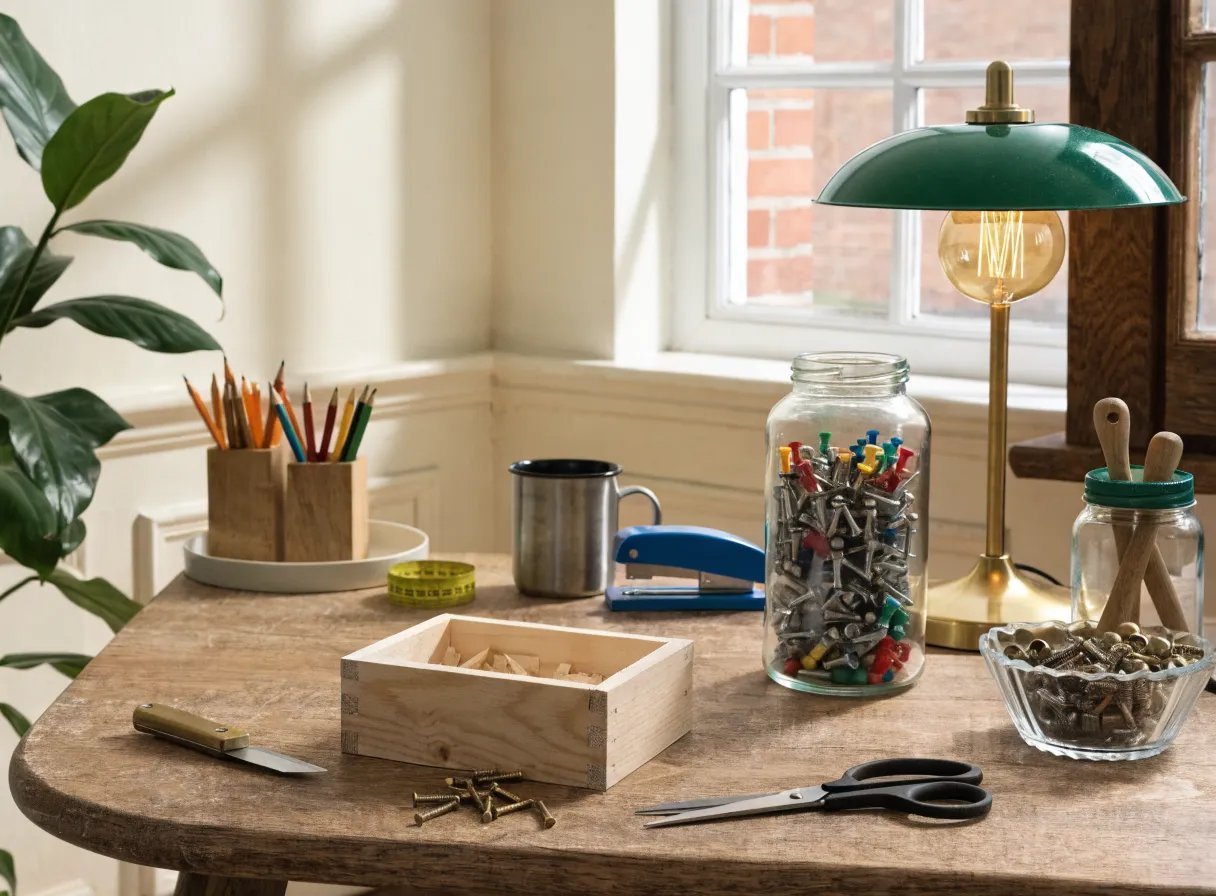
When diving into DIY, starting with something simple can make all the difference. Imagine walking into a well-organized workspace stocked with the right tools and materials; that’s the key to a smooth start.
Think about a small project, like creating a decorative planter or a unique photo frame. These tasks require minimal materials, and you’ll quickly see results. A simple DIY can boost your confidence and inspire you to tackle more complex projects later.
Utilizing your space effectively can help too. Gather some basics like wood, paint, or even just paper and glue. This variety allows you to experiment without feeling intimidated. Choose an idea that excites you, and don’t forget to have fun!
As you look at your organized setup, let it motivate you. A tidy space can spark creativity. You may even discover new ideas or techniques as you play around. Remember, DIY is about expression and exploration, so take that first step with a small, manageable project.
Take Breaks and Celebrate Progress

When diving into DIY projects, it’s easy to get caught up in the excitement and forget to take a breather. However, breaks are essential for staying refreshed and focused. Taking a moment to step away allows your mind to recharge, leading to better creativity and problem-solving when you return to your project.
Moreover, celebrating small victories along the way can keep your motivation high. Whether you’ve completed a tricky task or simply organized your workspace, acknowledging your progress is key. Create a little celebration ritual. It could be enjoying a snack or displaying your completed steps in a fun way, as seen with the cozy setup of snacks and decorations.
Surrounding yourself with little reminders of your accomplishments keeps the excitement alive. These tiny celebrations, combined with consistent breaks, help prevent feeling overwhelmed and allow you to enjoy the journey of your DIY project. Keep it light, have fun, and remember that every small step takes you closer to your final masterpiece!
Set Realistic Goals and Expectations

Diving into DIY projects can feel exciting yet a little daunting, especially if you’re not sure where to start. Setting realistic goals is essential to keep your motivation high without the stress of feeling overwhelmed.
Look at your workspace and imagine the projects you want to tackle. Placing a clear list in view, just like the one on the board, can help you organize your thoughts. Jot down your ideas, but be mindful of how ambitious they are. Are you attempting something that could take more time than you have right now?
Break your goals into smaller, manageable steps. For instance, if you’re planning a home decor project, start with one room rather than the entire house. Each little accomplishment will fuel your enthusiasm and make the process enjoyable.
Also, keep your expectations realistic. It’s perfectly fine to have a vision, but if it doesn’t align with your current skills or available time, it may lead to frustration. Remember, DIY is all about learning and personal growth, so embrace the journey!
Finally, don’t hesitate to adjust your goals as you progress. Sometimes, what seems simple can end up being more complicated. Adaptability is key in DIY. As you check things off your list, celebrate those small wins—they’re just as important!
Gather All Necessary Tools and Materials
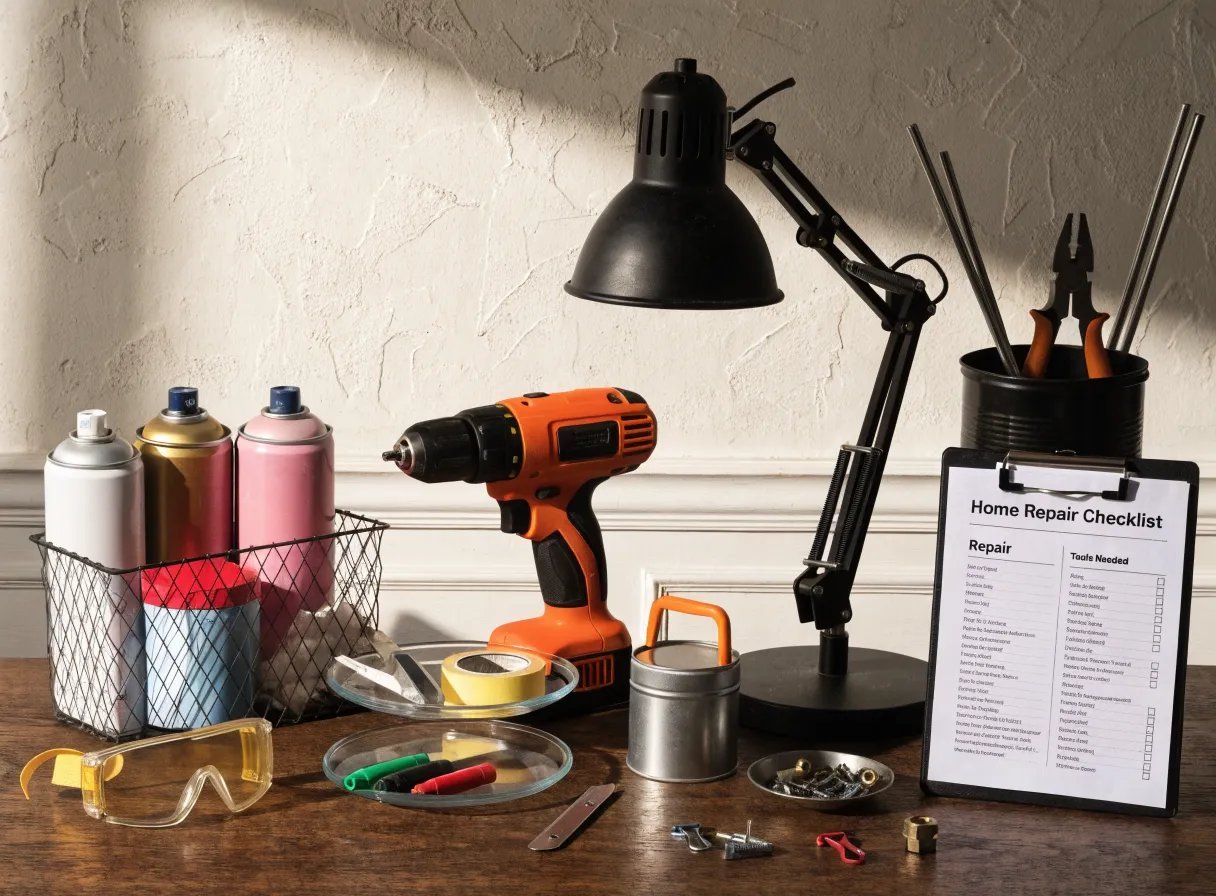
When diving into a DIY project, having all your tools and materials at hand makes everything smoother. Imagine standing in front of your workspace with a variety of supplies neatly laid out. This visual can be your motivation; those tools represent countless creative possibilities!
Start by making a list of everything you’ll need. Whether it’s paintbrushes, jars, or a trusty measuring tool, having a clear list helps you avoid last-minute runs to the store. It feels much better to have everything ready to go, right?
Organize your workspace so you can see all the items clearly. Group similar materials together; for instance, keep all your painting supplies in one spot. This not only saves time but also keeps you from feeling overwhelmed.
Consider checking your inventory before shopping. You might already have something that can work. This little trick not only saves money but also sparks creativity. You might find a neat use for that leftover paint or those extra brushes you thought you didn’t need anymore.
Lastly, don’t stress about perfection. The joy of DIY is in the process, not just the outcome. Embrace the journey, and let your ideas flow. Happy crafting!
Create a Project Timeline
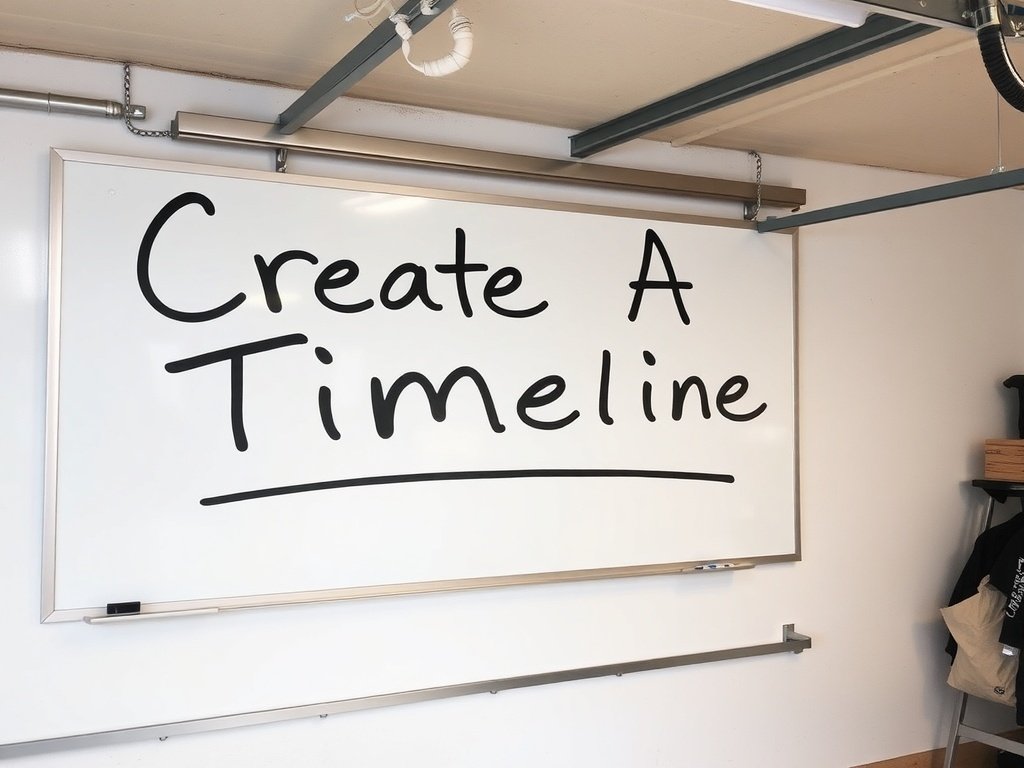
Starting a DIY project can be both exciting and a little daunting. One of the best ways to keep your enthusiasm high is to create a project timeline. This approach helps break down your work into manageable steps that won’t overwhelm you.
Using sticky notes can make this process even more fun! Write down each task on a note and place them on a wall or board. This visual representation allows you to see your progress at a glance and adds a creative touch to your planning.
Begin by listing all the steps involved in your project, from the initial planning to the final touches. Once you’ve identified each task, arrange them in the sequence you’ll tackle them. This method helps clarify what to expect during each phase, meaning you can focus on one task at a time without feeling stressed.
Set deadlines for each note, giving yourself realistic timeframes to complete each step. If a task seems too complex, consider breaking it down further. This keeps the momentum going and allows you to celebrate small victories along the way.
Remember, DIY projects are meant to be enjoyable. A timeline should guide you, not box you in. Feel free to adjust your plan as you go along; flexibility can lead to unexpected creativity!